 how-to
How Long to Install Stretch Ceiling: Timeline & Process
Table of Contents
- How Long Does Stretch Ceiling Installation Take?
- What You'll Need Before Installation Starts
- The Stretch Ceiling Preparation Phase
- Understanding the Stretch Ceiling Installation Process
- Can You Complete Stretch Ceiling Installation in One Day?
- Factors That Affect Installation Timeframe
- What Happens After Installation Is Complete
- Factors That Affect Installation Timeframe
- Frequently Asked Questions
Last Updated: October 9, 2026
How Long Does Stretch Ceiling Installation Take?
How long to install stretch ceiling depends on room size, ceiling condition, and complexity. Most residential installations take between one and three days. A straightforward bedroom might finish in a single day. A larger living space or kitchen could take two to three days. The actual installation of the membrane itself is remarkably quick, often just a few hours, but preparation work adds significant time.
At Stretcharama, we've found that understanding the timeline helps homeowners plan their lives around the work. You're not looking at weeks of disruption like traditional plastering. You won't have dust everywhere for months. The process is efficient, but it's not instantaneous either.
The real answer to how long to install stretch ceiling comes down to what happens before and after the membrane goes up. Preparation can take as long as the installation itself. Finishing touches add another layer. Here's what the full timeline actually looks like.
What You'll Need Before Installation Starts
Before any installer arrives, your room needs preparation. This isn't about you doing the work, it's about knowing what to expect.
Clear the space. Remove furniture, artwork, and anything hanging from walls. Stretch ceiling installation requires access to the entire perimeter of your room. Boxes stacked in corners slow everything down.
Protect what stays. If you can't move something, it gets covered. Flooring, built-in fixtures, and anything permanent gets protective sheeting. This takes time but prevents damage.
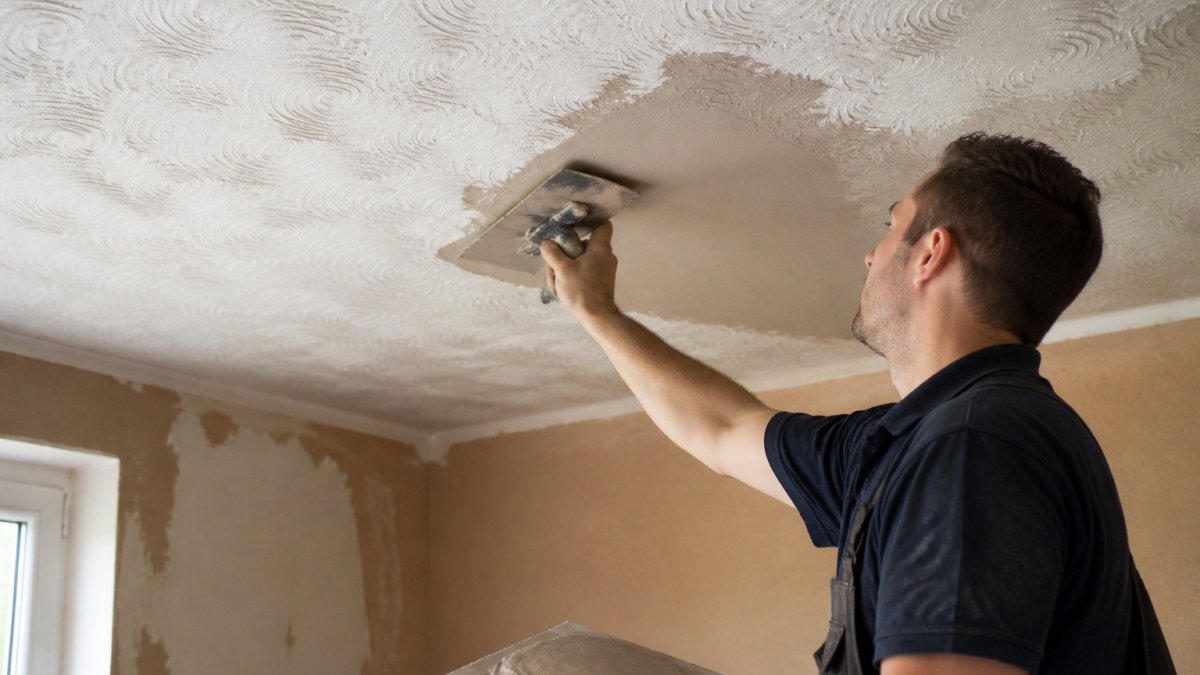
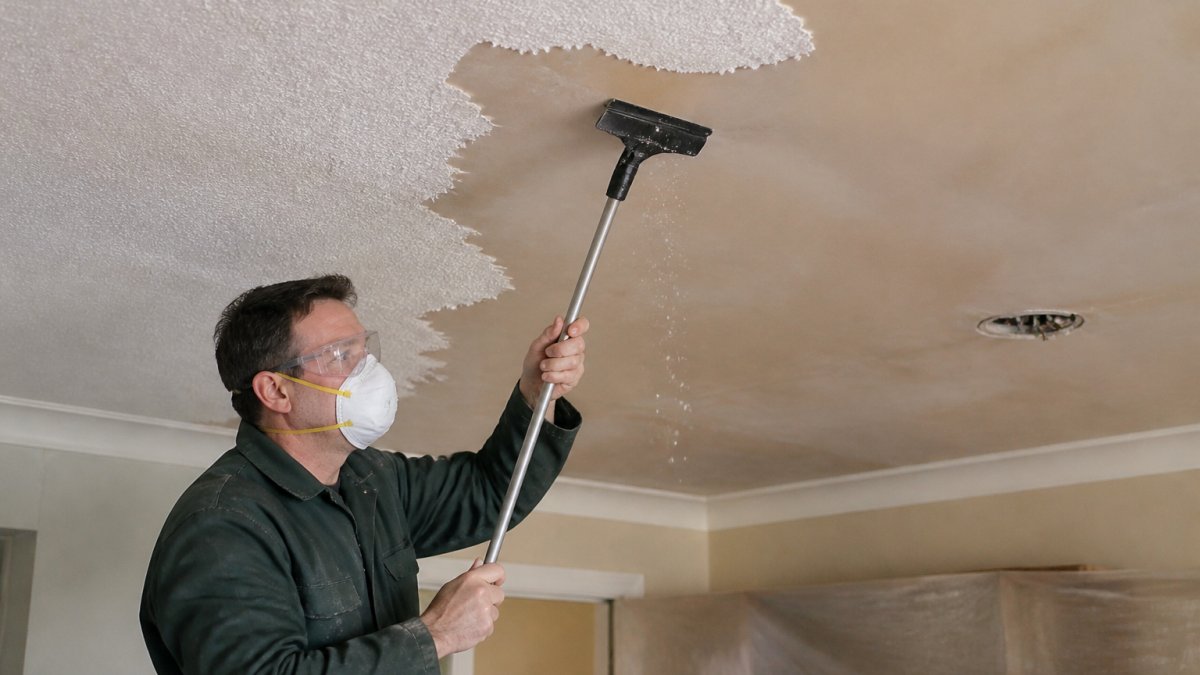
Identify existing hazards. Older ceilings, particularly Artex from the 1980s, may contain asbestos. You should have this tested before work begins. It's a safety requirement, not optional. Testing adds a few days to your timeline but it's essential.
Ensure electrical access. Light fittings and ceiling-mounted fixtures need to be accessible. Some may need temporary disconnection. Your installer will advise on this during the site visit.
Plan for ventilation. The installation process requires good air circulation. Open windows and doors help. This is especially important in kitchens and bathrooms where moisture builds up.
Most homeowners complete these steps in a day or two. The actual preparation on site happens the day before or morning of installation.
The Stretch Ceiling Preparation Phase
Preparation is where the timeline gets real. This phase typically takes four to eight hours, sometimes longer in complex rooms.
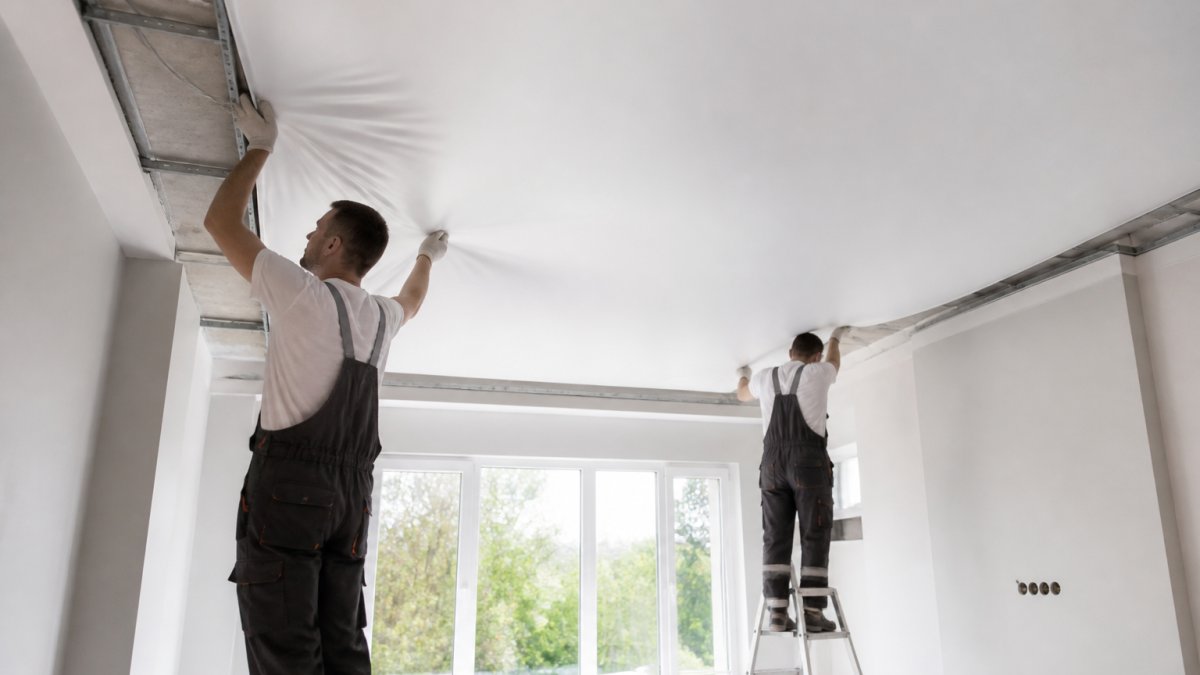
Install the perimeter frame. The installer attaches an aluminium profile around the entire room perimeter. This frame holds the membrane. The work is methodical, it has to be level and secure. Rooms with irregular walls or lots of angles take longer.
Prepare the membrane. The PVC membrane arrives rolled and needs warming. A heat gun brings it to the right temperature, flexible but not stretchy. This prevents tearing during installation. Temperature control matters. Cold membrane tears. Too-hot membrane becomes unpredictable.
Mark reference points. The installer marks where the membrane will sit. This ensures even tension across the entire ceiling. Precision here prevents sagging or wrinkles later.
Test the frame. Before the membrane goes up, the frame gets checked. It must be level, secure, and properly tensioned. A frame that isn't right can cause problems during installation.
This preparation phase is non-negotiable. It determines whether your finished ceiling looks flawless or develops issues. Rushing this phase is false economy.
Understanding the Stretch Ceiling Installation Process
The actual membrane installation is the fastest part of how long to install stretch ceiling work. Once preparation is complete, the membrane typically goes up in two to four hours.
Heat the room. The installer raises room temperature to around 40-50°C using portable heaters. The membrane becomes pliable at this temperature. The room stays warm throughout installation. This is why you should plan to be away during the work, it gets uncomfortable.
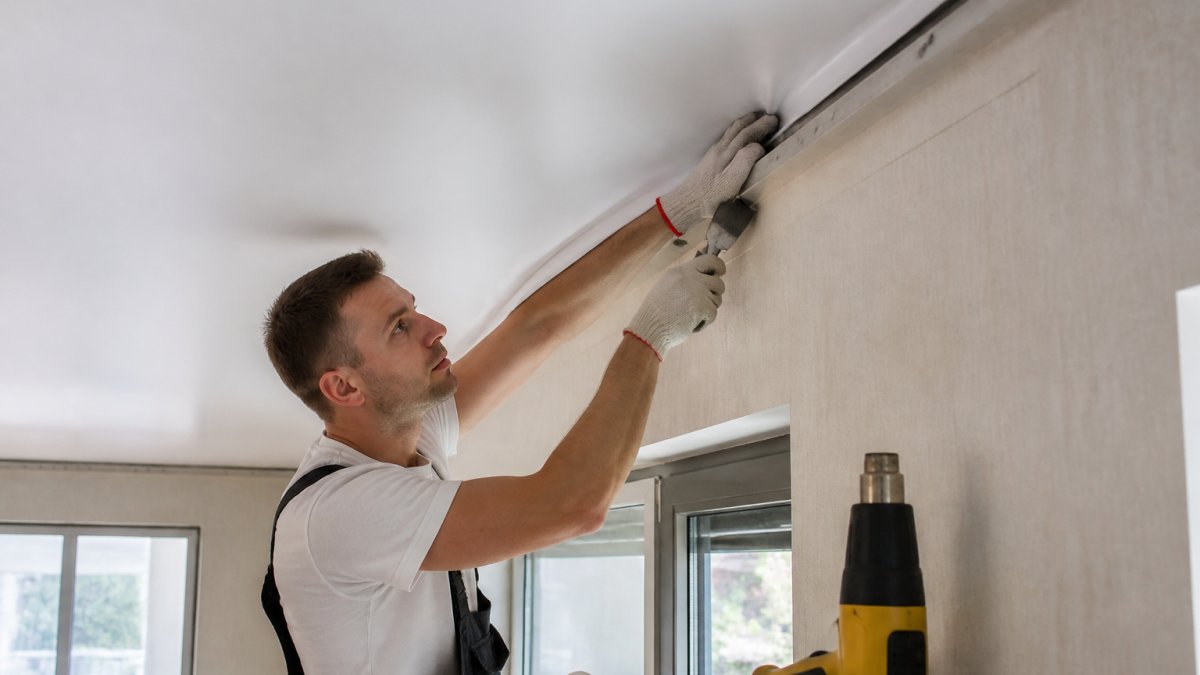
Fit the membrane. The installer stretches the membrane from corner to corner, securing it into the frame using a special tool. This isn't a quick tack-and-go process. Each section gets secured gradually, maintaining even tension. The membrane stretches as it cools, creating a smooth, wrinkle-free surface.
Secure the perimeter. Once the membrane is stretched, the decorative trim goes in around the edges. This hides the frame and gives a finished appearance. The trim is available in various styles and colours.
Cool and set. As the room cools, the membrane contracts slightly and becomes taut. This creates the smooth finish you see in the final result. Cooling takes a few hours. The membrane reaches its final tension as temperature drops.
The installation process itself is surprisingly quick. The time investment comes from doing it properly. Rushing creates tension problems, wrinkles, or sagging.
Can You Complete Stretch Ceiling Installation in One Day?
Yes, but not always. A one-day installation is possible for smaller rooms with straightforward conditions.
Best candidates for one-day work:
- Bedrooms under 20 square metres
- Rooms with regular wall shapes
- Ceilings without existing damage or hazards
- No electrical complications
- No asbestos testing required
A straightforward bedroom installation might start at 8am and finish by 5pm. Preparation takes four hours. Installation takes two to three hours. Final touches take another hour.
Rooms that typically need two days:
- Kitchens and bathrooms
- Rooms over 30 square metres
- Spaces with complex angles or alcoves
- Rooms requiring asbestos testing
- Areas with extensive electrical work
Larger living rooms, open-plan spaces, or rooms with multiple light fittings often need a second day. The frame installation alone can take six to eight hours in a big space.
Three-day timelines happen when:
- Asbestos removal is required
- Structural repairs are necessary
- Multiple rooms are done sequentially
- Complex electrical work is involved
- The existing ceiling needs significant remedial work
Stretcharama's experience shows that most residential jobs fall into the one-to-two-day category. Knowing your room's complexity before work starts helps you plan time off accurately.
Factors That Affect Installation Timeframe
Several variables change how long to install stretch ceiling actually takes in your home.
Room size. Larger rooms need more perimeter frame. A 40-square-metre living room takes twice as long as a 20-square-metre bedroom. Every additional metre of wall perimeter adds time.
Ceiling condition. A smooth, flat ceiling is fastest. Cracked plaster, stained surfaces, or uneven areas require more preparation. The membrane covers these problems, but the frame installation can be more complex if the base is irregular.
Existing fixtures. Light fittings, extractor fans, and air vents interrupt the frame installation. Each one needs careful work around it. Multiple fixtures add hours to the job.
Wall shape and angles. Regular rectangular rooms are fastest. Rooms with alcoves, sloped walls, or irregular shapes need custom frame sections. Angled ceilings take significantly longer.
Electrical work. If lights need repositioning or new circuits are needed, this adds time. Some electrical work must happen before installation starts. Some happens after. Coordination with an electrician can extend your timeline.
Asbestos considerations. If your ceiling contains asbestos, it must be tested and possibly removed before installation. This adds one to two weeks to your overall project timeline. It's a safety requirement, not a delay tactic.
Moisture issues. Bathrooms and kitchens need special consideration. The room must be properly ventilated. In some cases, moisture barriers are added. This adds a day to installation.
Colour and finish choices. Standard colours install as fast as any. Custom colours or special finishes might require longer curing time.
Understanding these factors helps you estimate your actual timeline. A professional installer can assess your room and give you a realistic schedule.
What Happens After Installation Is Complete
Your stretch ceiling isn't fully ready immediately after installation finishes. The finishing phase takes another day or two.
Membrane curing. The membrane continues setting for 24 hours after installation. You can use the room after this period, but avoid touching the ceiling or hanging heavy items for 48 hours. The membrane reaches full strength after about a week.
Trim and finishing. The decorative trim is fitted during installation, but it sometimes needs final adjustments. Minor tweaks might happen the day after installation.
Light fitting reinstallation. If lights were removed, they're reinstalled once the ceiling is set. This happens on the second day typically.
Final inspection. A good installer does a final walkthrough with you. They point out the finish, explain care instructions, and answer questions. This takes about 30 minutes.
Cleaning. The installation area gets cleaned. Protective sheeting is removed. Your room is returned to normal. This takes an hour or two depending on the space.
Most homeowners can use their room fully within 48 hours of installation completion. The ceiling continues to improve slightly as the membrane fully sets over the first week.
Factors That Affect Installation Timeframe
Several variables change how long to install stretch ceiling takes in your specific situation.
Room dimensions. Larger spaces require more frame. A 15-square-metre bedroom finishes faster than a 50-square-metre open-plan space. Every additional metre of perimeter adds installation time.
Existing ceiling condition. Smooth, flat ceilings are quickest. Cracked plaster, stains, or uneven surfaces require more preparation work.
Number of fixtures. Light fittings, extractor fans, and ceiling vents interrupt the frame installation. Each fixture requires careful work around it.
Room shape and angles. Rectangular rooms are fastest. Rooms with alcoves, sloped ceilings, or irregular shapes need custom frame sections. Complex geometry adds hours.
Electrical requirements. Repositioning lights or installing new circuits adds time. Some electrical work happens before installation. Some happens after. Coordination with electricians extends your timeline.
Asbestos testing. Older Artex ceilings may contain asbestos. Testing is required before installation.
Moisture and ventilation. Bathrooms and kitchens need extra consideration. Proper ventilation must be in place. Moisture barriers might be added. This can add a day to installation.
Colour and finish options. Standard colours and matt finishes install quickly. Custom colours or glossy finishes might need extra curing time.
A professional installer assesses these factors during your site visit. They give you a realistic timeline based on your specific room.
Installing a stretch ceiling is faster than traditional plastering, but it's not a quick afternoon job. Most residential installations take one to three days from start to finish.
The timeline depends on room size, existing ceiling condition, fixtures, and whether asbestos testing is needed. Preparation and frame installation take as long as the membrane installation itself.
Stretcharama handles the entire process efficiently, managing preparation, installation, and finishing to minimise disruption to your home.
Frequently Asked Questions
How long does it take to install a stretch ceiling?
Stretch ceiling installation typically takes between one and three days, depending on room size and complexity. A straightforward single room installation can be completed in one day, whilst larger spaces or rooms with multiple features may take longer. The actual installation process itself, fitting the membrane and securing it, usually takes between four and eight hours. Preparation and finishing work account for the remainder of the timeframe.
What affects the time needed to fit a stretch ceiling?
Several factors influence installation duration: room dimensions (larger spaces take longer), ceiling height and accessibility, the number of angles and corners, existing ceiling condition, whether lighting or ventilation needs integrating, and room complexity. Properties with Artex ceilings may require additional preparation time. Moisture-prone environments like swimming pool rooms may need extended drying time after installation. Your installer will assess these factors during the consultation.
Can a stretch ceiling be installed in one day?
Yes, stretch ceiling installation can be completed in one day for most residential rooms. Standard bedrooms, living rooms, and bathrooms typically finish within a single working day once preparation is complete. However, larger spaces, rooms with complex layouts, or those requiring extensive preparation may extend into two days. The speed of installation is one of the key advantages of stretch ceilings compared to traditional plastering, which can take weeks.
Does the room need to be empty before a stretch ceiling is installed?
Your room should be cleared of furniture and personal items before installation begins. This provides installers with safe access to all areas and prevents damage to your belongings. Most homeowners move items out the day before work starts. Unlike traditional plastering, stretch ceiling installation creates minimal dust and disruption, so you won't need to vacate the property entirely. Your installer will advise on specific preparation requirements during your consultation.